Identifying Ghosts in Demonology can quickly become a guessing game if you're not fully equipped. To ensure you're making informed decisions rather than guesses, dive into our comprehensive Demonology equipment guide below.
How to Buy and Use Equipment in Demonology
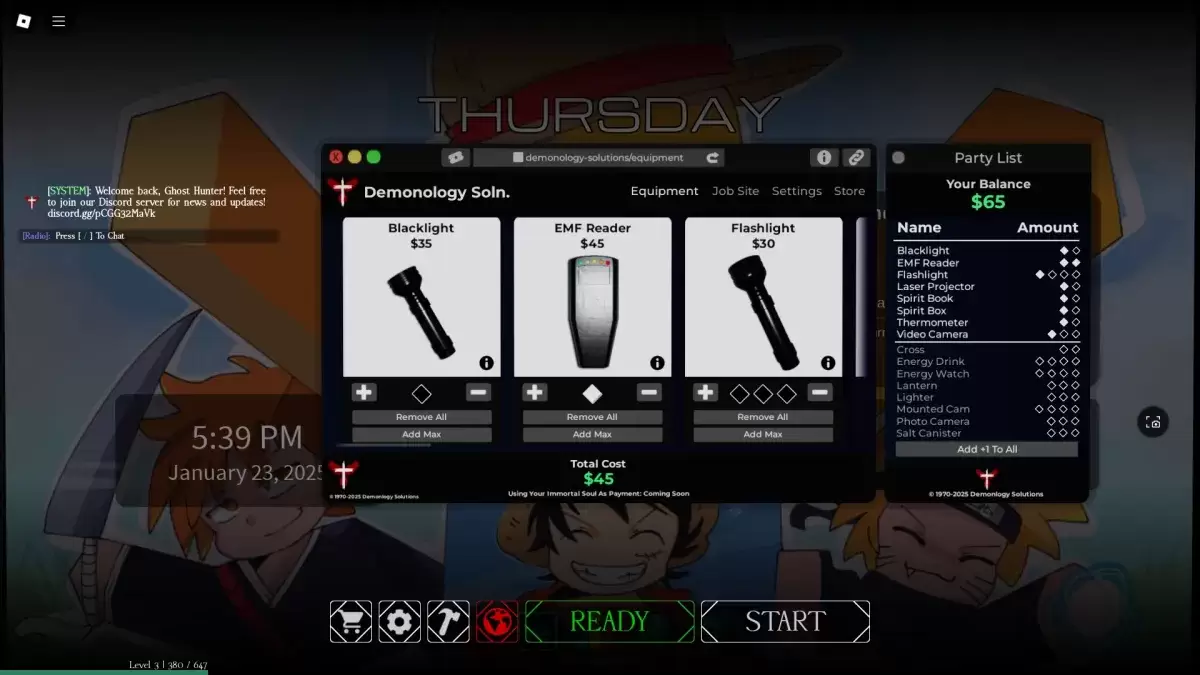 Equipment shop in the lobby
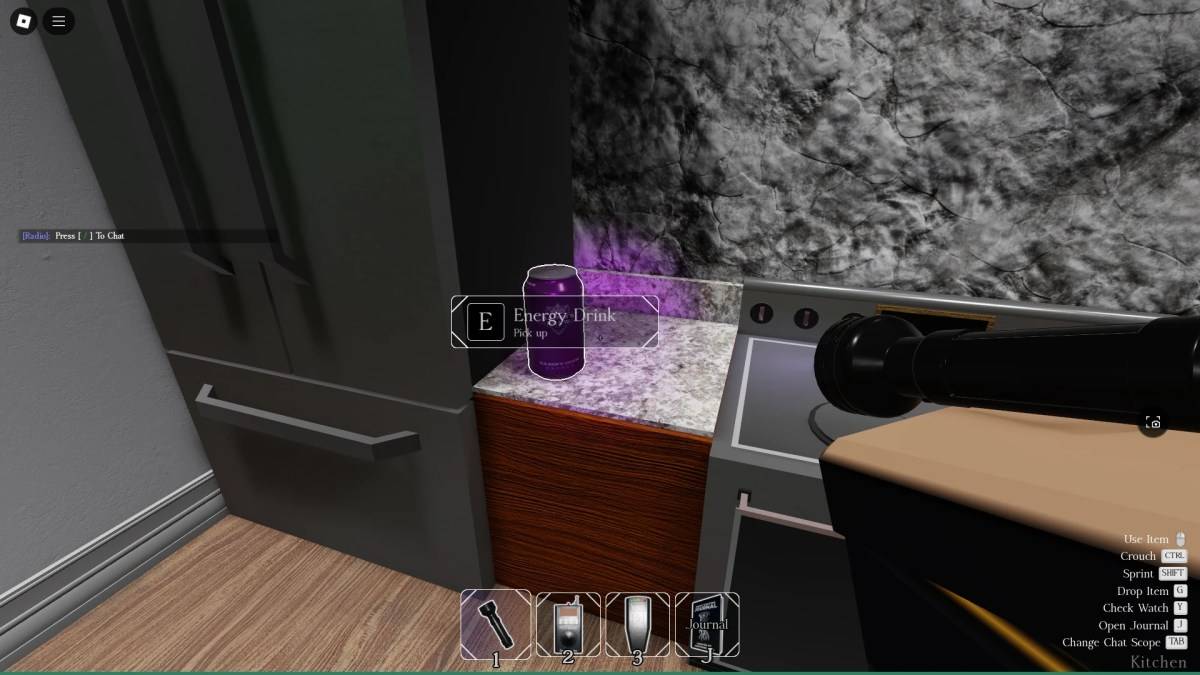 Energy Drink spawn in-game
Before embarking on your Demonology run, you have the opportunity to purchase additional equipment. Keep in mind that these items are available only for the upcoming run, so choose wisely. Additionally, some items may appear within the investigation areas. You're allowed to carry up to three items simultaneously. To utilize a piece of equipment, simply press the RMB (M2) button. If you need to drop it, press the G key.
Evidence Equipment in Demonology
Evidence equipment is crucial for pinpointing Ghosts in Demonology. These tools are primarily used to gather the evidence necessary to determine the specific type of Ghost you're encountering. For a deeper dive into identifying Ghosts, refer to our dedicated guide. Moreover, these pieces of equipment can be used strategically to entice Ghosts to manifest, perfect for capturing photographic evidence.
| Item | Use | Party limit | Price |
|---|---|---|---|
| **Blacklight** | • Activate the Blacklight to search for fingerprints, handprints, or footprints left by Ghosts. | 2 | $35 |
| **EMF Reader** | • Use the EMF Reader to detect Ghost activity nearby. It will light up and emit a sound when activity is detected. Place it on the ground to function as a perimeter scanner. | 2 | $45 |
| **Laser Projector** | • Turn on the Laser Projector and place it to emit beams that highlight any moving Ghosts. | 2 | $65 |
| **Spirit Book** | • Leave the Spirit Book on the ground for Ghosts to pick up and write in, providing evidence. | 2 | $40 |
| **Spirit Box** | • Engage with the Spirit Box to select dialogue options and communicate with nearby Ghosts, though they may not always respond. | 2 | $50 |
| **Thermometer** | • Use the Thermometer to monitor the temperature around you. Typical room temperatures range from 15-19 degrees; deviations could indicate a Ghost's presence. | 2 | $30 |
| **Video Camera** | • Switch to camera view with the Video Camera to spot Ghost Orbs. Place it on the ground and monitor via the PC at spawn. | 3 | $50 |
Optional Equipment in Demonology
Optional equipment in Demonology is designed to aid in survival and achieving secondary mission goals. As with all equipment, there's a limit on how many items you can take into a run.
| Item | Use | Party limit | Price |
|---|---|---|---|
| Flashlight | • Illuminate the area in front of you with the Flashlight. | 4 | $30 |
| Cross | • Use the Cross to ward off a Ghost during a hunt. | 2 | $30 |
| Energy Drink | • Replenish some Energy with the Energy Drink. | 4 | $30 |
| Energy Watch | • Check your remaining Energy with the Energy Watch. | 4 | $50 |
| Lantern | • Carry the Lantern to prevent passive Energy drain. | 3 | $15 |
| Lighter | • Light up the Lantern and candles or use as a light source with the Lighter. | 3 | $10 |
| Mounted Cam | • Similar to the Video Camera, but can be used alongside other items. Monitor via the PC next to the spawn. | 4 | $50 |
| Photo Camera | • Capture images of Ghosts and other objects with the Photo Camera, useful for completing optional objectives. | 3 | $40 |
| Salt Canister | • Use lines of Salt to deter some Ghosts and collect handprint evidence. | 3 | $15 |
This comprehensive guide covers everything you need to know about equipment in Demonology. For more Roblox tips and tricks, be sure to explore the Roblox guides section on Escapist.


